360° photographs - How do they do that?!
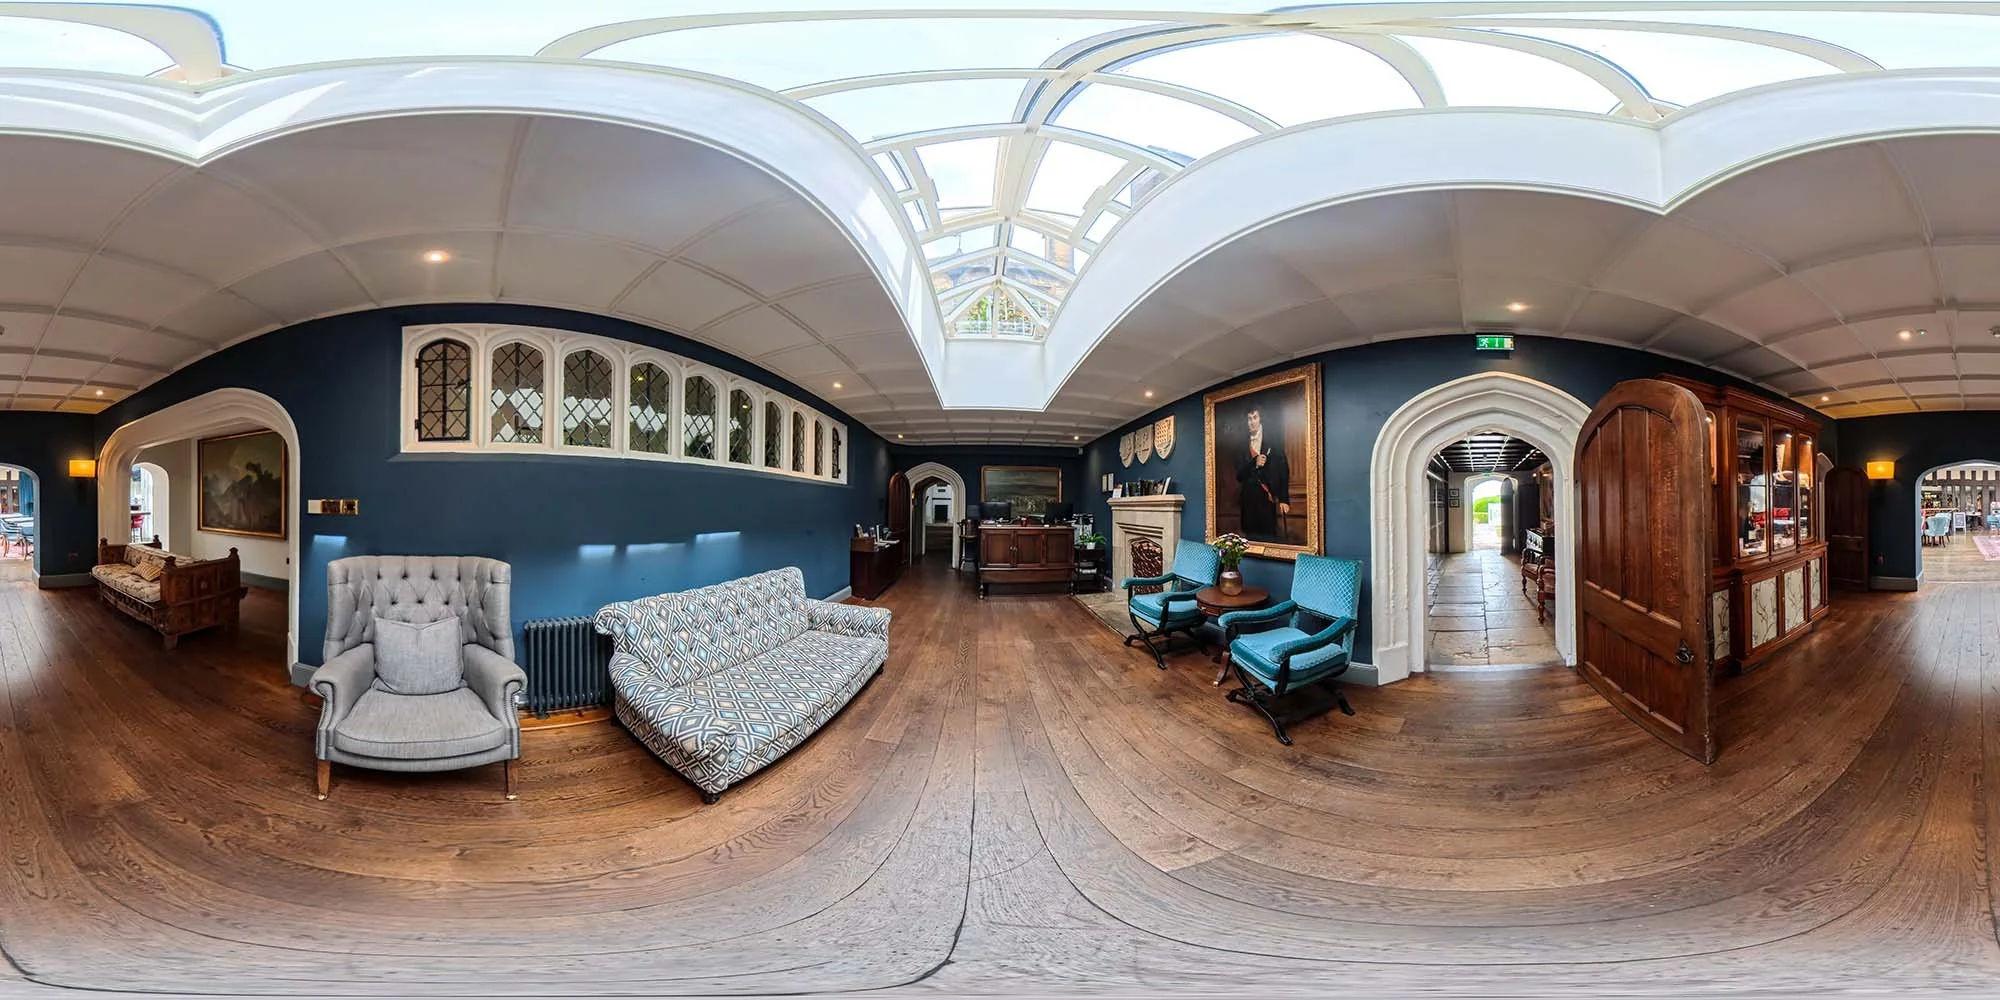
This photo is of a gorgeous hotel reception area, its a long thin room with historic features and roof lantern.
To make the 2D equirectangular photo above into a 360° grab both ends - with the archway - and join them together right infront of you as you look at the screen. This photo is of a gorgeous hotel reception area, its a long thin room with historic features and roof lantern.
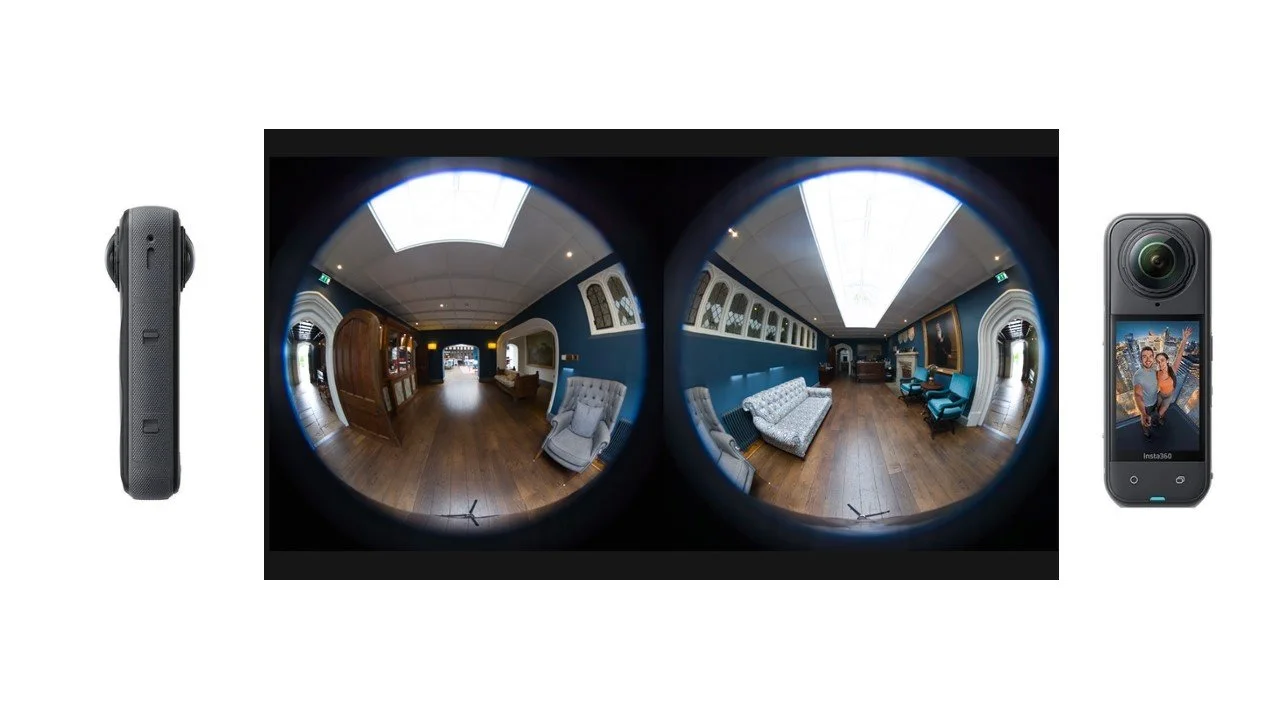
This is the Insta360 X5 camera with its fish eye lenses which enable the camera to take 360° photographs, the hotel reception is seen here in the raw state of 2 spheres.
My 360 Photography Workflow
I use the Insta360 X5 camera, it has 2 lenses, one on either side, known as fish eye lenses. These lenses enable the camera to take 360° photographs, seen above in the raw state of 2 spheres. The monopod feet are also visible at the bottom of the photos, the monopod holds the camera.
I use 3 editing processes to curate the finished 360° photograph. The first step is to stitch the 2 sphere images together to form an equirectangular image. The image at the top of the page is a finished equirectangular.
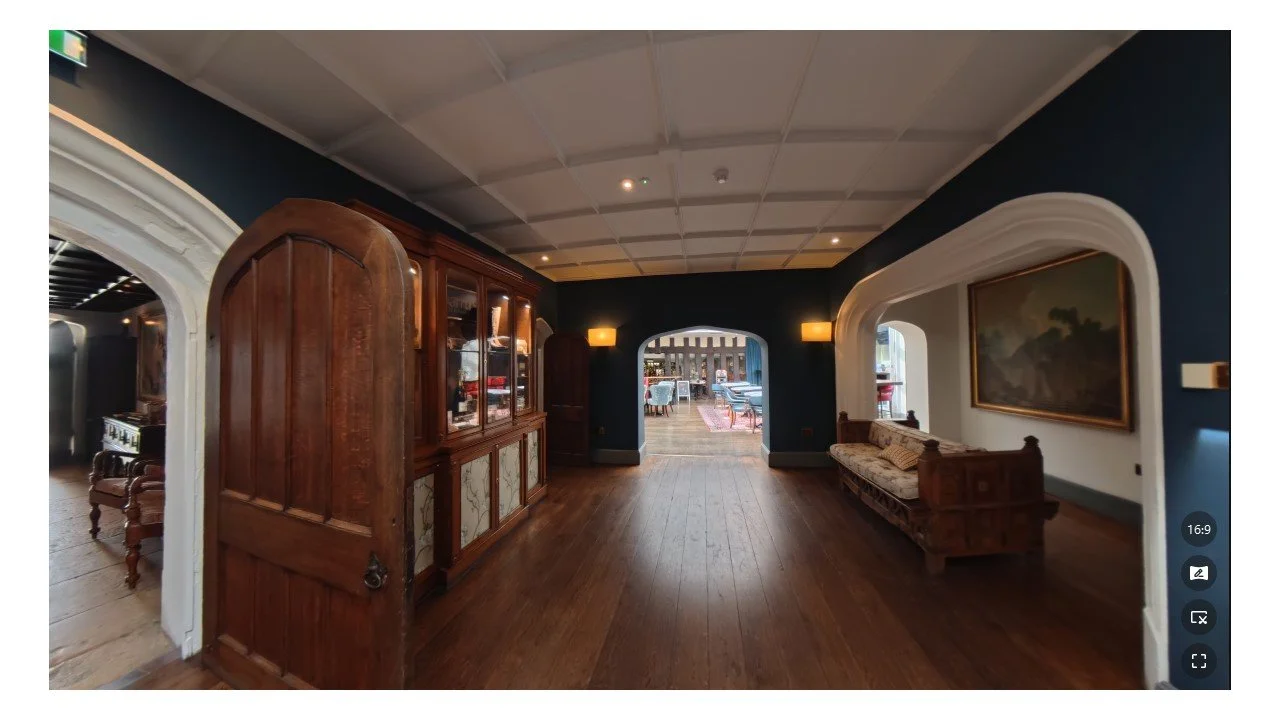
The hotel reception archway, as 2D, in a non edited state.
The second step takes the equirectangular image and edits it to enhance and bring out all the features, colours and light in a balanced way. Compare the non edited image above with the image at the top of the page.
The third step is to remove the tripod feet, remove the shadow or reflection of the camera and monopod, remove any distractions, blur faces / car registrations etc…

The tripod feet, the shadows and reflections of the photographic equipment need to be edited out of the photographs as they are a distraction.
After these 3 editing steps the 360° photos are either used to create a Virtual Tour (photos link to each other) or a Virtual Visit (the photos are separate, no links). The photos can also be repurposed to create video reels for social media, TV screens in a reception area or a website hero image - as per my home page. I call this product offering Virtual Boost, its available as a stand alone or an add on to Tour or Visit.
From taking the photos - through 3 step editing - to the finished image is a combination of human talent and great equipment and software. In most cases one 360° photograph can capture a room perfectly, that is why 360 reveal take one photo in the optimal place in the room. Other systems work differently and take multiple photographs in the room to capture measurement information. It takes a more selective eye to find the best position to take one photo from as opposed to taking lots of photos for measurement readings.
The 360° photographs are pretty big files - 12k x 6k pixels, 40 - 70MB each - and that is why hosting is offered alongside a Virtual Tour or Visit to ensure it loads up quickly on your website and doesn’t burden your IT system.
Bloopers!
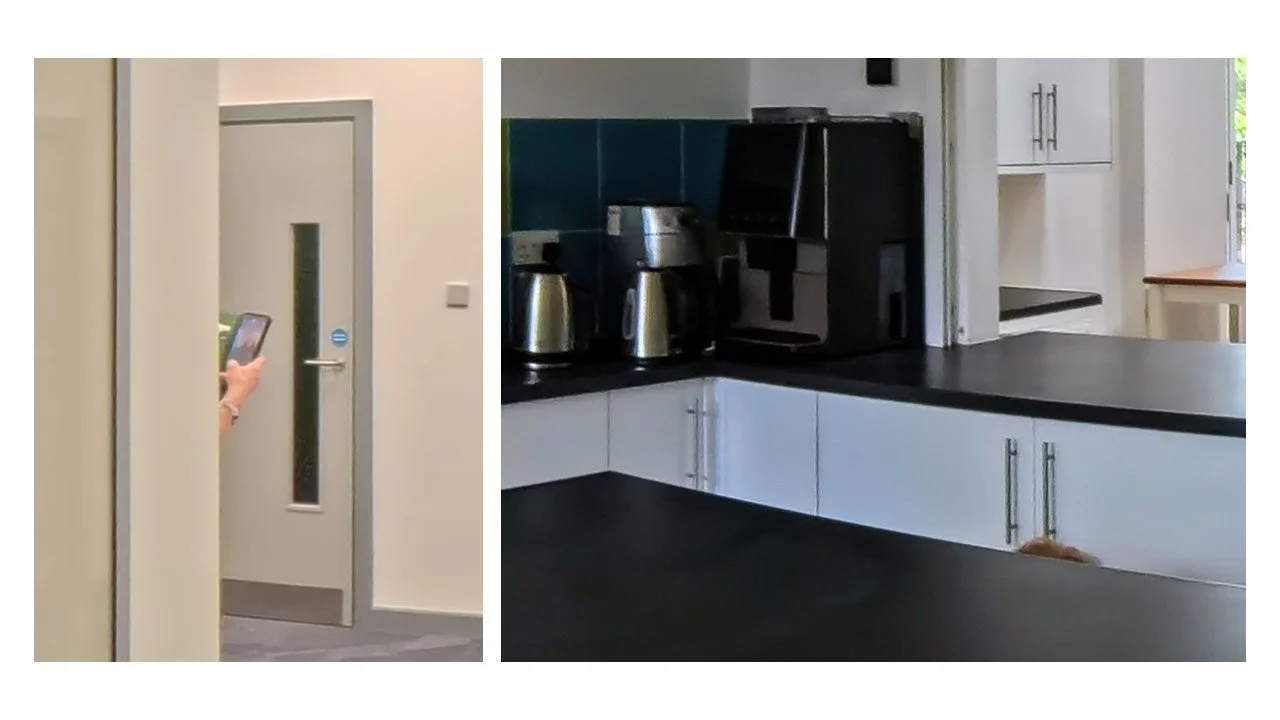
On a final note, the role of a 360° photographer is quite physical, and I am glad of my flexibilty from yoga and pilates, as I spend quite a lot of time hiding from the camera! Here are a couple of shots where I didn’t quite get it right and had to rely on my editing skills afterwards.
Let’s Show What Makes Your Business Special
If you’re ready to show your space in a way that’s not just seen - but felt - 360 reveal is here to help. I’d love to show you what’s possible.